How to Pipe Buttercream Flowers (Even If You've Never Decorated a Cupcake Before)
Share
To pipe buttercream flowers, you need a piping bag fitted with a petal tip, medium-stiff buttercream frosting, and a cooled cupcake. Hold the wide end of the tip toward the center, apply steady pressure, and rotate slightly as you pull outward to form each petal. Repeat around a center point, layer as needed. Most beginners can learn a basic flower in under 20 minutes.
I want to tell you something I wish someone had told me earlier: piping buttercream flowers is not as hard as it looks. I know. I know it looks like something a trained pastry chef does in a bright, organized kitchen while wearing a linen apron. But I promise you, the first time I piped a halfway-decent rose, I was standing at my kitchen counter in an old t-shirt, slightly stressed, with powdered sugar on my elbow. And it still turned out beautiful.
If you have been putting this off because you assumed it wasn't for you, I want to change your mind today.
What You Actually Need
Let's start here, because I think a lot of people get overwhelmed before they even begin. The supply list is genuinely short. You need buttercream frosting, a piping bag, and a petal tip. That's the core of it.
The petal tip I reach for most is the #104. It has a teardrop-shaped opening, wide on one end and narrow on the other, and that shape is what creates the curved, layered look of real petals. You also need something to pipe onto while you build the flower, either a flower nail (a little rotating platform on a stick) or a square of parchment paper on a flat surface. Both work. The nail gives you more control, but parchment is fine when you're starting out.
And then there's the buttercream. More on that in a second, because it's the thing that makes or breaks everything.
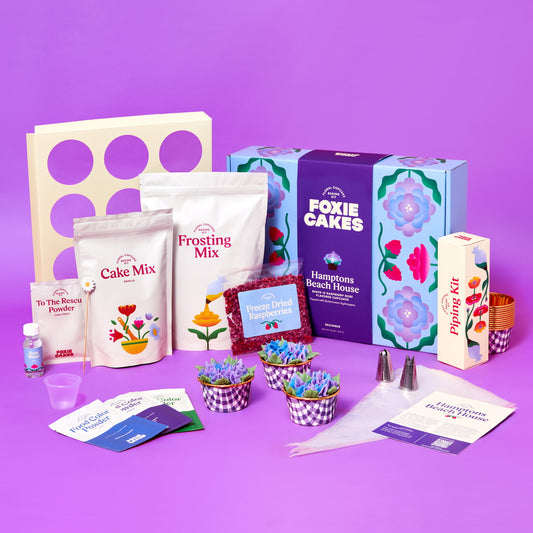
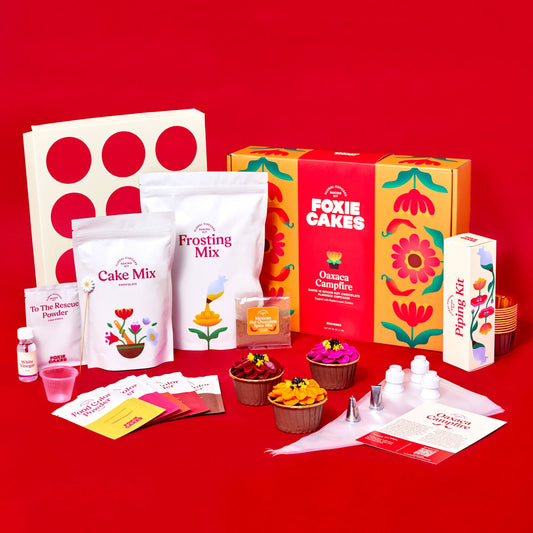
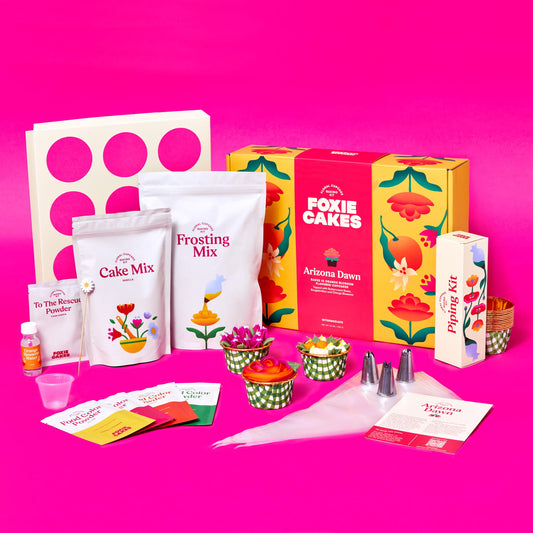
If pulling all of this together sounds like a lot, it's exactly why I created Foxiecakes kits. Everything comes in one box, already portioned and paired, so you're not hunting down supplies or guessing at quantities before you've even started.
The Buttercream Thing
I cannot stress this enough: your buttercream has to be medium-firm. Not rock solid, but it needs to hold a peak when you pull a spatula out of it. If it droops, your petals will droop. If it's warm or over-whipped, the whole flower kind of melts into itself before you can get it off the nail.
Here's the science: butter needs to be at true room temperature, around 65 to 68 degrees, cool to the touch but with a little give when you press it. In this state, butter can actually trap air when you beat it with sugar, and those air pockets are what make your frosting light and fluffy rather than heavy and greasy. If your butter was too warm going in, the frosting loses that ability and you'll feel the difference when you pipe. So watch for the signs: if your buttercream looks shiny or glossy, or your petals are drooping as you go, give the bag a few minutes in the fridge. If your kitchen runs cool, you may not need to do anything at all.
The Flowers I'd Start With
I always tell people to begin with the rosette. It is the most forgiving flower in existence. You hold the bag straight up over the center of the cupcake, apply steady pressure and let frosting make contact with the surface. Pull upwards by about an inch, then swirl outward in a spiral, keeping the tip in the air as you move. At the end, release the pressure and pull away. Finish off with a leaf it you’d like. Done. It looks polished every single time, even on your first try, even when your hands are a little shaky from nerves.
Once the rosette feels easy, try a simple petal flower. Hold the wide end of your petal tip toward the center and the narrow end pointing out, at a 45 degree angle sideways to the surface. With gentle pressure, start at the center and let the frosting make contact with the surface. Then move outwards and back in, forming a long horseshape,, and you've got a petal. Do that five or six times around a center point, letting the petals slightly overlap, and you have something that genuinely looks like a flower.
My personal favorite for a beginner batch, though, is what I privately call the blob flower. You pipe small round dots in a circle with a round plain tip, add one dot in the center, and give the middle dot a different color. It looks like a sweet daisy. It takes about 30 seconds per cupcake. And honestly, a tray of them together looks incredible.
How I Practice (And How You Should Too)
Before I touch a cupcake, I pipe on parchment. I pipe a flower, scrape it back into the bag, and go again. You're not wasting frosting and you're not putting pressure on yourself to get it right the first time. You're just getting your hands used to the motion. To get flowers to stick to the parchment, prep with a thin layer of frosting.
Most people find that after 20 minutes of this, something clicks. The pressure, the angle, the rotation: it starts to feel like a conversation between your hand and the bag instead of a fight.
One Last Thing
Real flowers are not symmetrical. They're a little lopsided, they lean, they have petals that came out differently than the others. The ones you pipe will be the same, especially at first, and I think that's the best part. They look handmade because they are. There's something in a slightly imperfect buttercream flower that a perfect one just doesn't have.
The goal was never perfect. The goal was yours.